Time to read:
In this article we are going to go over how to connect a Docker1 standalone server to an existing Portainer2 environment. With this method of connection I will be using the Portainer agent installed directly on the Docker instance.
This article assumes that you have already installed Portainer and have a new instance of Docker installed and configured. If you do not have Portainer installed then you can check out my post on ‘How to install Portainer’.
- SECTION I – Portainer Web Environment
- SECTION II – Docker Standalone Configuration
- SECTION III – Connect Agent to Portainer
- SECTION IV – Footnotes
SECTION I – Portainer Web Environment
The first thing we need to do is get the agent configuration for the standalone Docker instance to use.
- Navigate to the web GUI (Graphical User Interface) of your portainer instance. NOTE: you will need to know the web port that your Portainer instance is setup to listen on, in my case it is using port 9443 so I will browse to “IP:9443”.
- Select the ‘Environments’ tab under ‘Settings’ in the left hand pane.
- Click on the ‘Add Environment’ button on the right hand side of the page.
- Select the ‘Docker Standalone’ option.
- Select the ‘Agent’ option.
- Click on the ‘Copy Command’ button to copy the Portainer agent configuration. NOTE: it should look similar to Example 1.
- NOTE: Don’t close the tab for the add agent as we will come back to it in Section III.
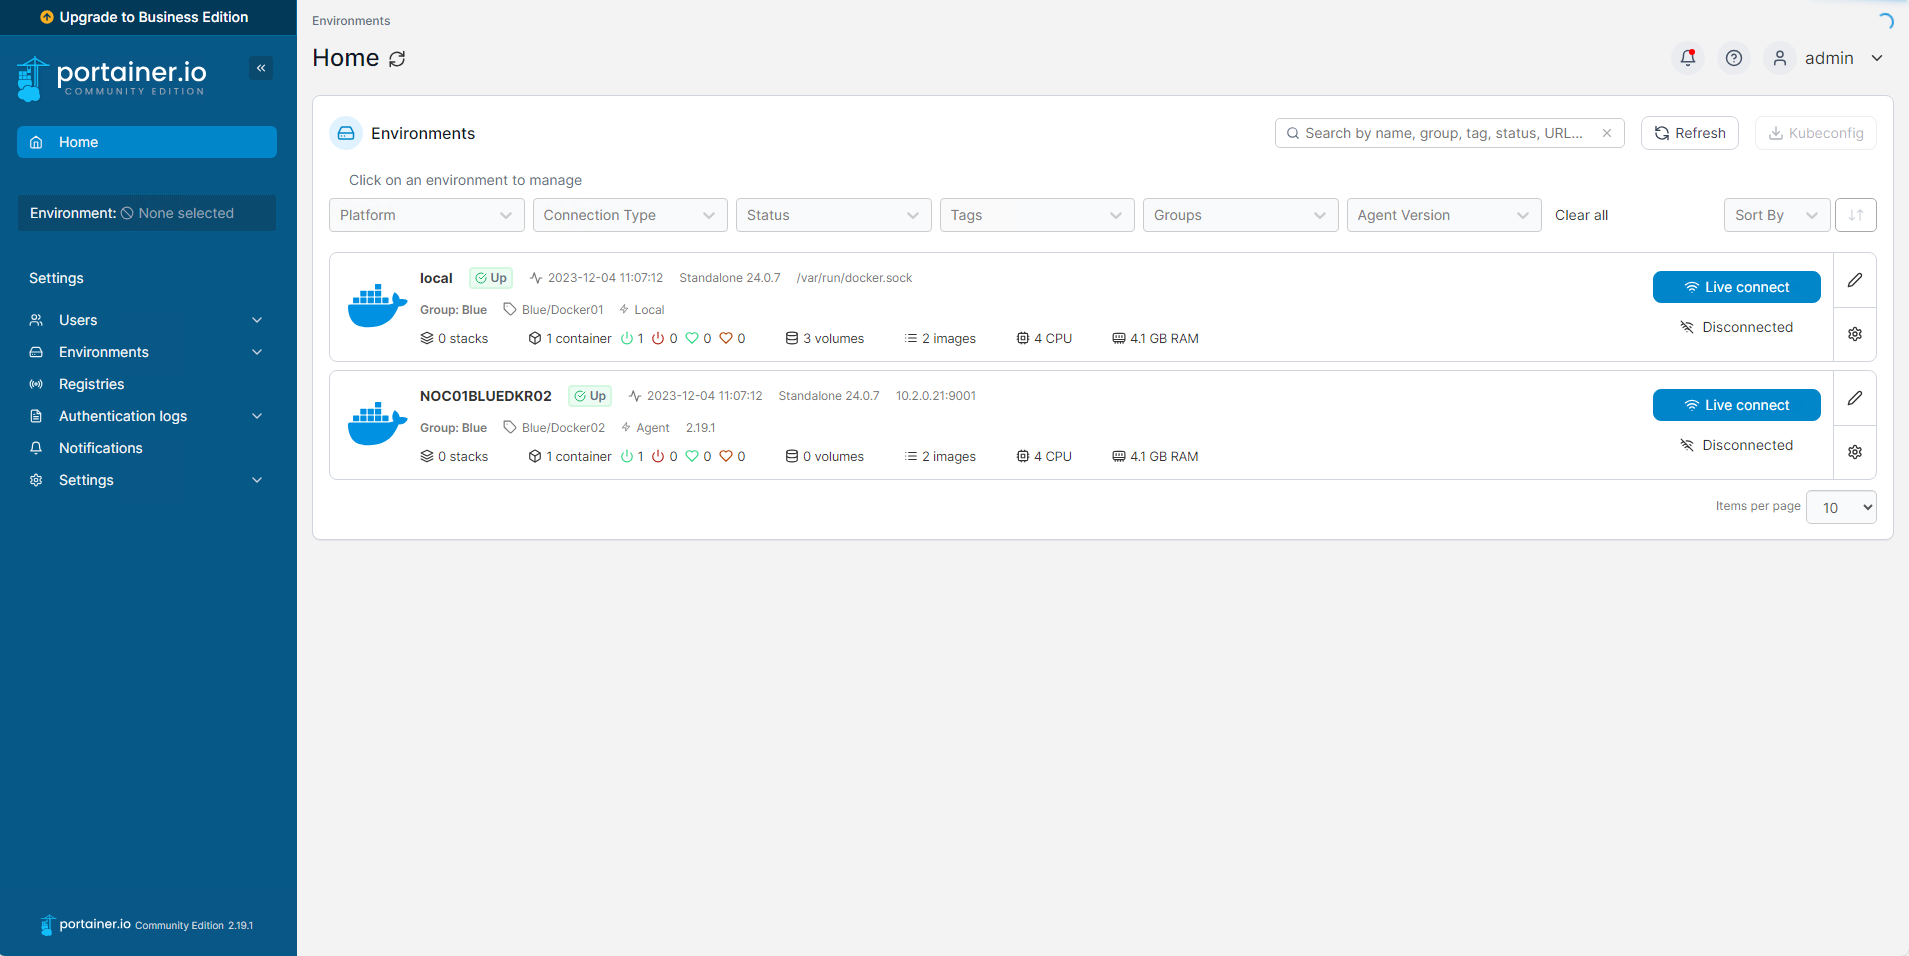
FIGURE 1 – Portainer Web GUI
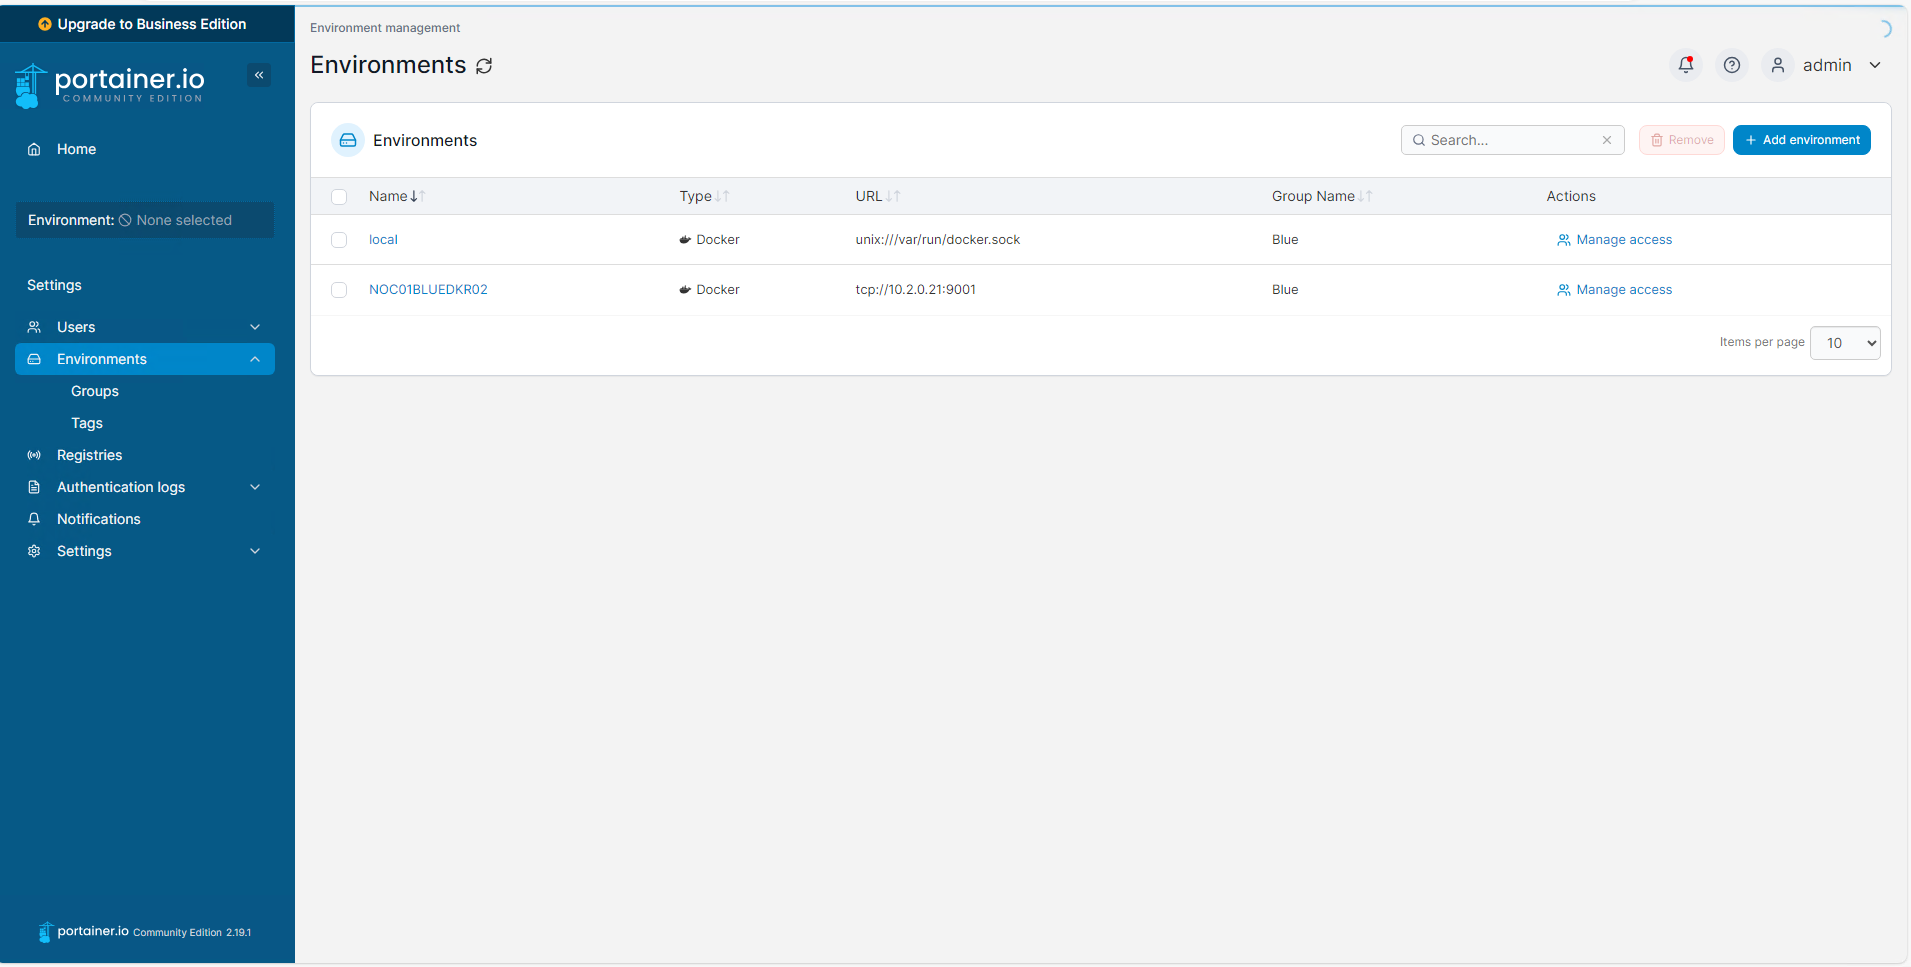
FIGURE 2 – Portainer Environments Setting
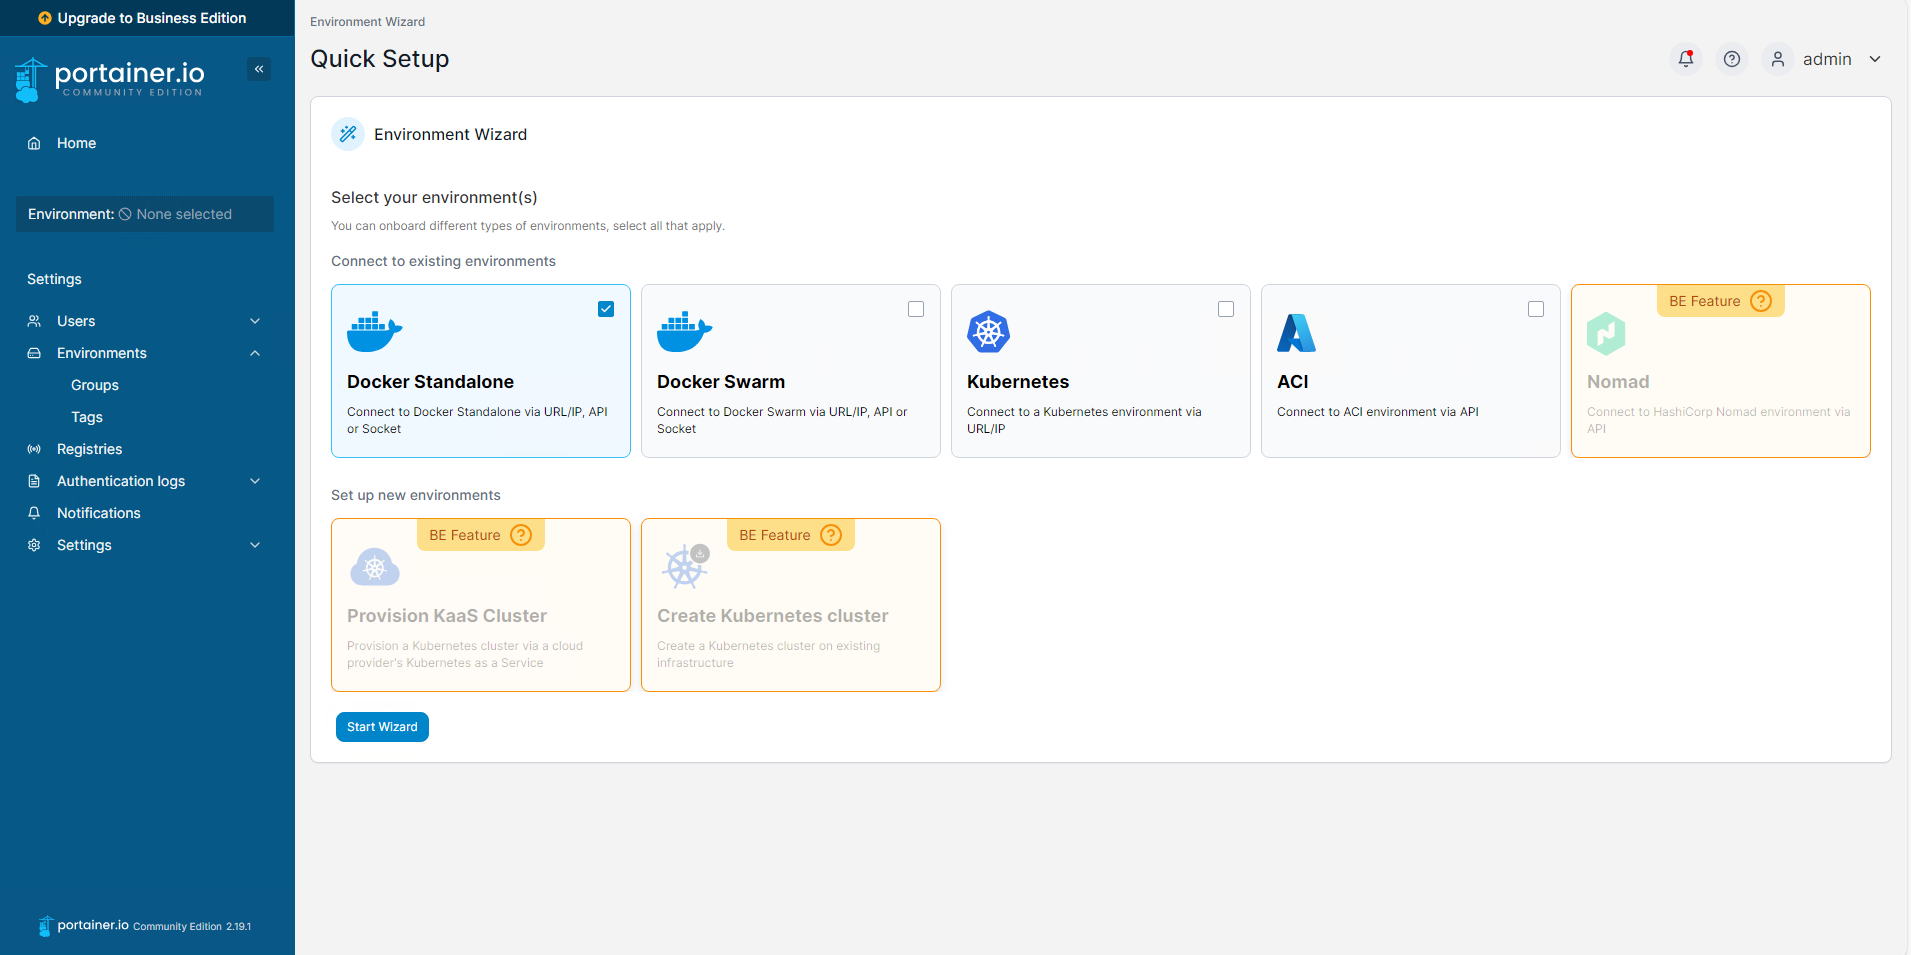
FIGURE 3 – Portainer Add Environment Wizard

FIGURE 4 – Portainer Agent Configuration
SECTION II – Docker Standalone Configuration
With the Portainer agent configuration copied from the web GUI as done in Section I you can now install the agent on the configuration on the Docker box.
SECTION II – A – Install Portainer Agent
- Connect to your Docker standalone environments terminal. In my case I will use SSH (Secure Shell) to remotely connect into the CLI (Command Line Interface).
- Paste the command copied from Section 1 Step 6 into the terminal.
- Once the command has run you can run the following command to ensure that the Portainer agent container is up and running:
docker run -d \
  -p 9001:9001 \
  --name portainer_agent \
  --restart=always \
  -v /var/run/docker.sock:/var/run/docker.sock \
  -v /var/lib/docker/volumes:/var/lib/docker/volumes \
  portainer/agent:2.19.1
EXAMPLE 1 – Portainer Agent Configuration
docker ps

FIGURE 5 – Confirm Portainer Agent Running
SECTION II – B – Open Firewall
Now that the agent container is running we need to open the host firewall to ensure that communication between the Portainer instance and the Agent can happen.
- Connect to your Docker standalone environments terminal.
- Run the following command:
- Confirm the firewall port is open by running the following command:
sudo firewall-cmd –permanent –zone=internal –add-port=9001/tcp
sudo firewall-cmd –reload
sudo firewall-cmd –zone=internal –list-ports

FIGURE 6 – Confirm Host Firewall
SECTION III – Connect Agent to Portainer
Now that you have a Portainer agent container up and running on your Docker Standalone device you can now connext the Portainer intance to it.
- Navigate back to the web GUI of your portainer instance. Picking up where you left off in Section I Step 7.
- Enter the appropriate details for your Docker Standalone instance:
- Name: A usefule name to identify the Docker instance.
- Environment Address: the IP (Internet Protocol) address and then port you just configured for the agent container (9001).
- Click the ‘Connect’ button.
- If the Portainer instance is able to correctly talk to the standalone Docker instance you will see a notification in the right hand side of the page saying the new environment has been added.

FIGURE 7 – Portainer Agent Details

FIGURE 8 – Successful New Agent
SECTION IV – Footnotes
- Docker is an open platform for developing, shipping and running containers. Easy way to think about containers is they are similar to the concept of virtual machines just without having to run the whole operating system and just the required application/software. ↩︎
- Portainer is a web GUI (Graphical User Interface) container management software that allows you to manage all of the containers across your virtualized environment. It is an impressively easy to use frontend for your containerized environment. ↩︎

Leave a comment