Time to read:
In this post we are going to cover how to install Elasticsearch on Fedora 39. More specifically I will be installing Elasticsearch version 8.x. This is part of a larger series of posts where we will go over building the entire ELK (Elastic) stack1.
This article assumes that you have a Fedora 39 machine setup and ready to go with an internet connection. In the case of my homelab I have a web proxy so if you have a similar setup make sure that you allow your proxy to forward traffic to the following internet domain name .elastic.co to download all the Elasticsearch application files.
- SECTION I – What is Elasticsearch
- SECTION II – Elasticsearch Installation
- SECTION III – Footnotes
SECTION I – What is Elasticsearch
Elasticsearch is at the heart of the ELK stack. It is a RESTful2 search and analytics engine that has many varied uses. Elasticsearch securely stores data and allows quick search functionality and analytical insight for the stored data.
SECTION II – Elasticsearch Installation
SECTION II – A – Install Java
Before we can install Elasticsearch we need to install Java so that it can run.
- Enter the following command to install Java:
- Once the installation is completed use the following command to configure that Java is installed and the correct version is running as in Figure 2.
dnf install lsof java-17-openjdk java-17-openjdk-devel -y
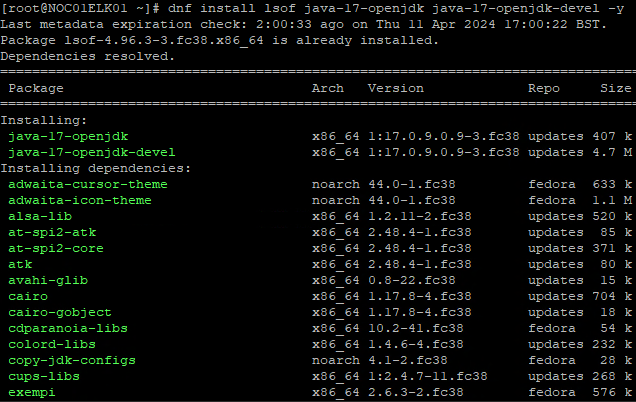
FIGURE 1 – Java Installation
java –version

FIGURE 2 – Java Version
SECTION II – B – Install Elasticsearch
Now that we have the required prerequisites we can install the Elasticsearch application.
- Firstly we need to import the GPG (GNU Privacy Guard) key so that when we use the DNF package manager to download and install the Elasticsearch application we can confirm that none of the binary files have been altered. To import the key use the following command:
- Now we need to add the repository for the Elasticsearch source files. Create the following file
/etc/yum.repos.d/elasticsearch.repoand place the contents of Example 1 in the file: - Now we can use DNF to enable the repo and install Elasticsearch using the following command:
rpm –import https://packages.elastic.co/GPG-KEY-elasticsearch
[elasticsearch]
name=Elastic repository for 8.x packages
baseurl=https://artifacts.elastic.co/packages/8.x/yum
gpgcheck=1
gpgkey=https://artifacts.elastic.co/GPG-KEY-elasticsearch
enabled=1
autorefresh=1 t
ype=rpm-md
Example 1 – Elastic Repository
dnf install –enablerepo=elasticsearch elasticsearch

FIGURE 3 – Accept Elasticsearch Installation
SECTION II – C – Start Elasticsearch Service
Now that we have the application installed we need to go ahead and start the service and then enable it to start on boot.
- Start the Elasticsearch service:
- Enable the Elasticsearch service to start on boot:
- Confirm the Elasticsearch service is running:
systemctl start elasticsearch
systemctl enable elasticsearch
systemctl status elasticsearch

FIGURE 4 – Confirmation Elasticsearch is Running
SECTION II – C – Initial Elasticsearch Configuration
Finally, there is only 1 initial bit of configuration that you will have to do to get up and running. That is we need to create the default elastic user a secure password.
- Run the following command:
- When prompted enter Y in order to set the elastic users password
- Enter a secure password twice. NOTE: I would recommend storing the password in a password manager like KeePass.
/usr/share/elasticsearch/bin/elasticsearch-reset-password -u elastic -i

FIGURE 5 – Set Default Elastic User Password
SECTION III – Footnotes
- ELK stack – the Elastic stack is an umbrella term for multiple applications made and managed by Elastic. The ELK stack includes the following core applications; Elasticsearch, Kibana, Logstash. ↩︎
- RESTful – REST stands for Representational State Transfer. It is a standard that guides how users or other applications can interact with data stored and served up by a web server. For an API (Application Programmable Interface) to be considered RESTful it must implement the 6 REST constraints. ↩︎

Leave a comment