Time to read:
In this post we are going to go over how to upgrade Fedora 39 server to Fedora 40. Fedora server 40 is the latest release of the Fedora server operating system that was released 23/04/2024.
NOTE: it is best to carry out this process from a directly connected terminal session rather than using Secure Shell (SSH). This is because during the installation the SSH package may be changed and disconnect you from your terminal session.
SECTION I – Backup Server
Before we start it is best practice to make sure that you have backed up your currently running Fedora 39 server instance. Just in case the upgrade doesn’t go well you have the data to roll back to.
If like me your Fedora server instances are Virtual Machines (VMs) then you can simply do a backup of the VM disk. On the other hand, if you are running the Fedora 39 server on a physical machine then use the following command to backup all the important directories:
sudo tar czf /fedora-39-backup.tar.gz \
–exclude=/fedora-39-backup.tar.gz \
–exclude=/dev \
–exclude=/mnt \
–exclude=/proc \
–exclude=/sys \
–exclude=/tmp \
–exclude=/media \
–exclude=/lost+found \
/
Copy the created TAR file off of the Fedora 39 server instance.
SECTION II – Latest Fedora 39 Update
Now that we have a backup of the server we need to make sure that the currently running operating system is fully up to date before starting to upgrade to version 40.
Use the following command to update the system:
dnf update
Be sure to enter ‘Y’ when asked if you want to download and install the found packages.

FIGURE 1 – Fedora 39 Latest Update
Now use the following command to confirm that Fedora 39 is as up to date as possible:
dnf –refresh upgrade
You should see a message saying ‘Nothing to do’ similar to Figure 2 if the system is fully updated to the latest of Fedora 39.
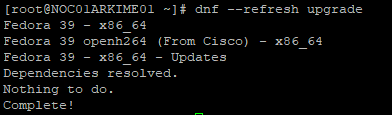
FIGURE 2 – No Packages to Install
SECTION III – Fedora 40 Upgrade
In order to start the system upgrade from Fedora 39 to 40 the DNF system upgrade plugin must be installed. Use the following command to install it:
dnf install dnf-plugin-system-upgrade
It will most likely already be installed so you should just see an output message similar to Figure 2 saying ‘Nothing to do’.
SECTION III – A – Download Fedora 40 Upgrade
Using the DNF system upgrade plugin we can set out release version to 40 and download all the Fedora 40 system files:
dnf system-upgrade download –releasever=40
Enter ‘y’ when prompted because we have already been and made sure Fedora 39 is fully updated before starting the Fedora 40 download.

FIGURE 3 – Accept System is Updated
DNF will go through and work out what packages need to be installed and removed. Answer ‘y’ to the question of the packages that will be downloaded.

FIGURE 4 – Accept Packages to Install
Enter ‘y’ to accept the GNU Privacy Guard (GPG) key.

FIGURE 5 – Accept GPG Key
Once the download is done you will see an output similar to Figure 6.

FIGURE 6 – Completed Fedora 40 Download
SECTION III – B – Upgrade to Fedora 40
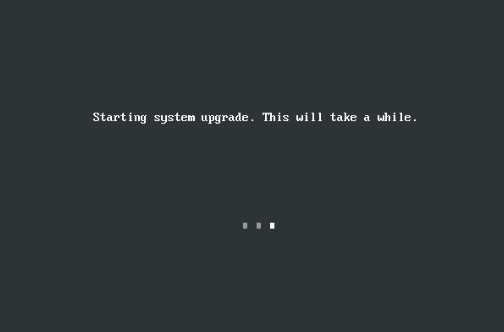
The final step to upgrade to Fedora 40 is to enter the following command to reboot the server and carry out the system upgrade:
dnf system-upgrade reboot
While the system is upgrading you will see an output similar to Figure 7 as it carries out the system upgrade.

Leave a comment