
Introduction
In this post, we are going to go over the essential steps to allow the self-hosted automation platform N8N to connect to Nextcloud . N8N is a platform to build automation workflows by obscuring the underlying deep technical knowledge of coding in order to carry out complex tasks. Nextcloud, is an open source content collaboration platform.
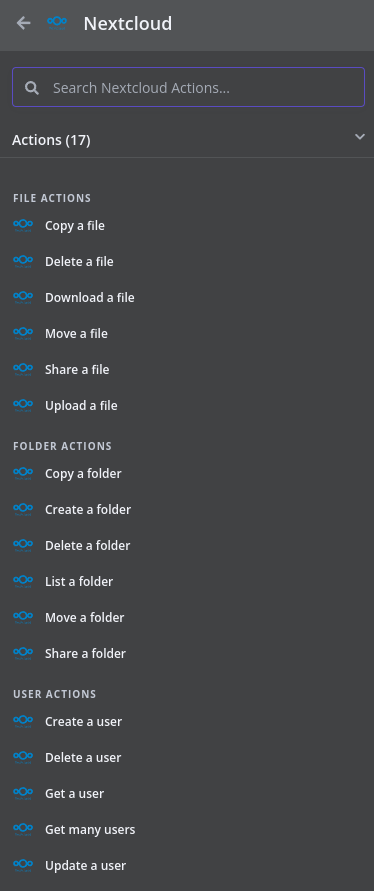
The N8N node allows you to carry out an array of tasks on your Nextcloud instance including; user, file and folder management.
Section I – Nextcloud Configuration
We will start with the configuration needed on the Nextcloud side of things.
Section I – A – Main Configuration File
Within the main Nextcloud configuration file there are 2 bits of configuration we need. To open the file:
vi /path/to/nextcloud/config.php
The bits of configuration we need are as follows:
'allow_local_remote_servers' => true,
    'trusted_domains' =>
    array (
            0 => '<Nextcloud IP or Hostname>',
            1 => '<n8n IP or Hostname>',
    )
After the configuration is changed you need to restart the Nextcloud server. The exact command to do this will depend on your setup. For example, I am using Apache to host my server so I will use the following command to restart the server:
systemctl restart httpd
Section I – B – Application Token
We now need to get an application token to allow N8N to authenticate as our user without using our account password.
Navigate to your Nextcloud servers web interface and login.
Navigate to the ‘Administration Settings’.

Under ‘Personal’ go to the ‘Security’ tab.

Scroll to the bottom of the page and in the prompt box enter a useful name and then select ‘Create new app password’.

Make sure you copy down the application password in a secure location as you will only be able to see it once.
Section I – C – Application Whitelist
I’m not sure if this step will be required for all setups, but, I was having some issues of the N8N host being blocked from accessing the Nextcloud Application Programmable Interface (API) due to a Brute Force Attack attempt (I think it was just all the messing around I was doing to try and get it working in the first place).
Again on the administration menu navigate to ‘Administration’ -> ‘Security’.

At the top of the page there is a ‘Brute-force IP whitelist’. Under the ‘Add a new whitelist’ enter the Internet Protocol (IP) address and subnet mask for the N8N server.

Section II – N8N Configuration
Navigate to your N8N instance web interface and login.
On the home page select the ‘Credentials’ tab.
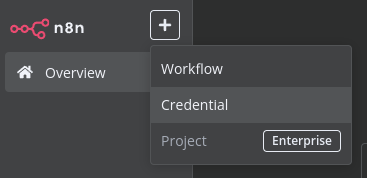
Click on the ‘+’ in the top right corner of the screen and select ‘Credential’.
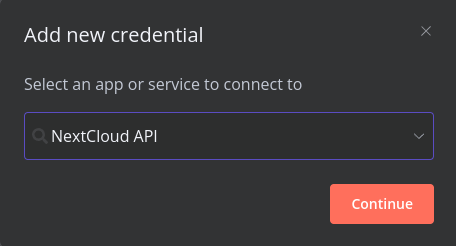
Select ‘Nextcloud API’ from the drop down.
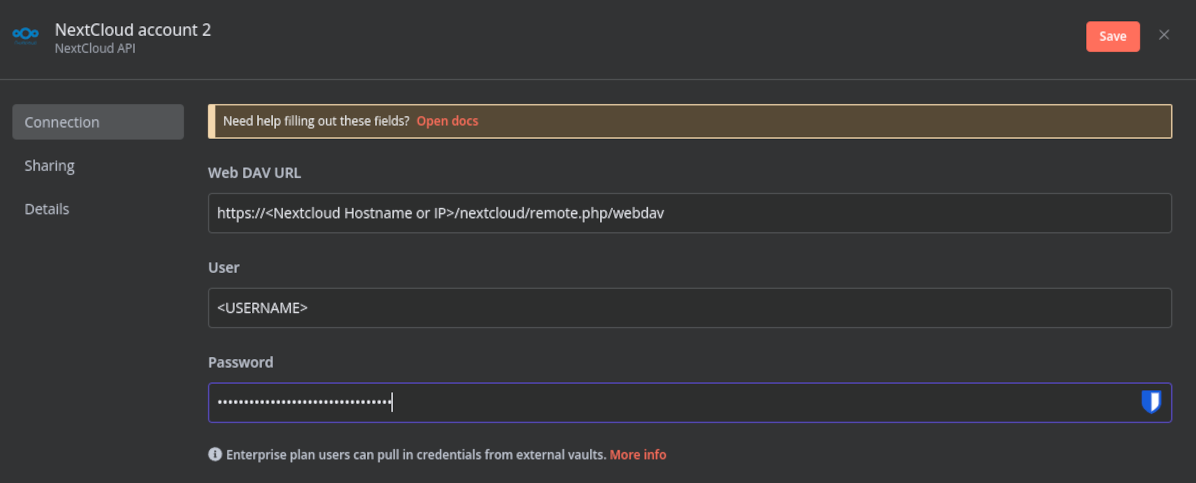
Enter the following details:
- URL – enter the URL you normally use to access your Nextcloud web interface, in my case ‘https://192.168.1.18/nextcloud’, followed by ‘/remote.php/webdav’. My example URL would be ‘https://192.168.1.18/nextcloud/remote.php/webdav’
- User – this is your Nextcloud accounts username.
- Password – this is the application password you copied earlier.
Section III – Useful Resources
I have left below a list of the useful resources I used in order to figure this out:
- Nextcloud node
- Need help – cannot connect to Nextcloud with OAuth or Access Token
- Nextcloud Configuration Parameters
- Cannot login: Too Many Requests
- Bruteforce protection triggered by using certain apps (FolderSync, DAVx5, Floccus etc.)
- How can i unblock an IP (blocked through brute force detection)?

Leave a comment