Time to read:
If you want to self-host a static Web dashboard for your HomeLab1 there are many options at your finger tips. In this post we are going to go over how to install and configure the Flame dashboard without using Docker2.
My initial criteria was that I wanted a simple and easy to navigate static dashboard that could be the default web page displayed on all machines within my HomeLab environment. A static dashboard can be a great way for you to keep a track and have easy access to all of the different web based services you are running in your HomeLab environment.
After some research I decided to go for a project called Flame which ticked all the boxes with its very minimalistic and simple navigation and easy customisation. To host this dashboard yourself you can use a Docker image of the dashboard, however, I opted for a slightly bulkier way to run this. I have installed the dashboard straight into a Fedora3 server image that I am using as my web server. To that end this tutorial following with be how to installed the Flame dashboard without the use of Docker.
- SECTION I – Pre-Requisites
- SECTION II – Clone Flame
- SECTION III – Install Flame
- SECTION IV – Configure Flame
- SECTION V – Create Flame Service
- SECTION VI – Connect to Flame
- SECTION VII – Footnotes
SECTION I – Pre-Requisites
As best practice before starting any installation you should make sure that your all of your packages currently running are as up to date as possible.
dnf update
Now our packages are all update to date we can get to installing the 2 packages we need to be able to run this dashboard:
- Git – this will be used to clone the Flame repository.
- Nodejs – this is the backend environment that Flame uses.
dnf install git nodejs
SECTION II – Clone Flame
Once our pre-requisites have been met we can get to downloading the Flame repository.
- Create a directory for Flame.
- Make sure that you are in the etc directory.
- Clone the repository using git.
- Navigate into the Flame directory.
mkdir /etc/flame
cd /etc/
git clone https://github.com/pawelmalak/flame
cd ./flame
SECTION III – Install Flame
Now that we have all of the files in the correct place we can start to actually install the Flame dashboard.
NOTE: in my HomeLab environment I pass all internet traffic through a web proxy. If you are running a similar setup then the installation of Flame using the repository scripts will not work. I was unable to diagnose why the dependencies could not be downloaded through a proxy. My solution to this was to have the web server in a network with direct access to the internet to install the dependencies.
SECTION III – A – Install Dependencies
- Run the initialise script to install any dependencies required by Flame.
- NOTE: if you run into issues during your dependencies install then you can run the following command to fix any issues:
npm run dev-init
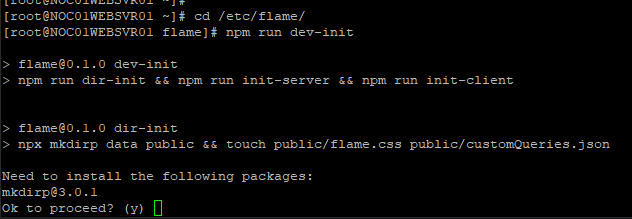
FIGURE 1 – Flame Dependency Install

FIGURE 2 – Flame Dependency Install Cont.
npm audit fix –force
SECTION III – B – Run Build
- Navigate into the client directory.
- Run the build script.
cd /etc/flame/client
npm run build
SECTION IV – Configure Flame
Now that the Flame dashboard is built we can finish some last bits of configuration needed to set up the dashboard.
- Navigate to the Flame directory.
- Open the environment variable file.
- Set your Flame password. You can also change the port that Flame uses here if you want to use a non-default port.
- Add your Flame port to the host firewall.
- Move build files into public directory.
cd /etc/flame
vi .env
PORT=5005
NODE_ENV=production
VERSION=2.3.1
PASSWORD={{ Your-Password }}
SECRET=(Leave Default)
EXAMPLE 1 – .env File Contents
firewall-cmd –permanent –add-port=5005/tcp
firewall-cmd –reload
cd /etc/flame
mkdir public
mv ./client/build/* ./public/
SECTION V – Create Flame Service
In order to properly control the Flame dashboard I am going to create service for it. This way I can control the service and set the service to start on boot of my Linux machine.
Make sure you are logged into your Linux machine as root.
- Create a Flame server script that will be referenced by the service unit file.
- Enter the following into the script:
- Add the execute permissions to the script file.
- Create a Flame service unit file.
- Enter the following into the service unit file:
- Set the permissions of the unit file.
- Start and enable the Flame service.
mkdir /etc/scripts
vi /etc/scripts/start-flame-node-server.sh
#! /bin/sh
cd /etc/flame
node server.js
EXAMPLE 2 – Flame Server Script Contents
chmod +x /etc/scripts/start-flame-node-server.sh
vi /etc/systemd/system/flame-server.service
[Unit]
Description=Flame Node JS Server

[Service]
Type=simple
ExecStart=/bin/bash /etc/scripts/start-flame-node-server.sh

[Install]
WantedBy=multi-user.target
EXAMPLE 3 – Service Unit File Contents
chmod 644 /etc/systemd/system/flame-server.service
systemctl enable flame-server
systemctl start flame-server
SECTION VI – Connect to Flame
The Flame dashboard is now up and running. To connect to it navigate to either of the following in a web browser:
IP Address:5005
Hostname:5005
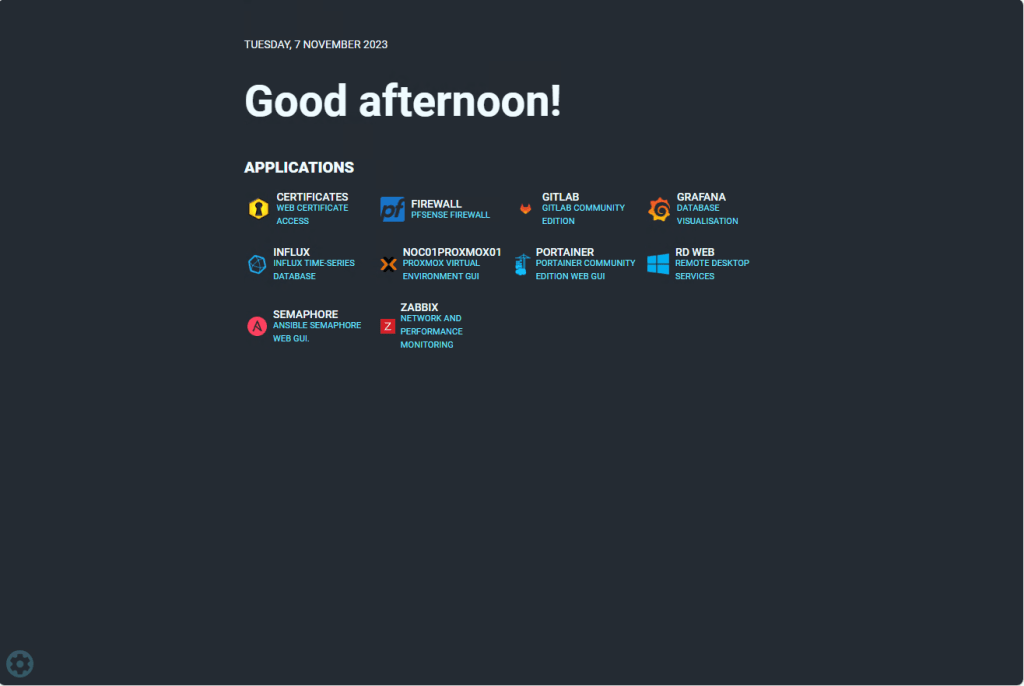
FIGURE 3 – Flame Dashboard
SECTION VI – A – Login
- Click the settings cog located at the bottom left corner of the screen.
- Select the ‘App’ tab.
- Enter the password you set in the Flame .env file earlier and click the login button.

FIGURE 4 – Login Screen
SECTION VI – B – Create Application
Before you can edit the Flame dashboard make sure you have logged in.
- Click on the ‘APPLICATIONS’ text.
- Click the ‘Add’ button
- Fill out the appropriate settings for the application you want to add and then click the ‘Add new application’ button.
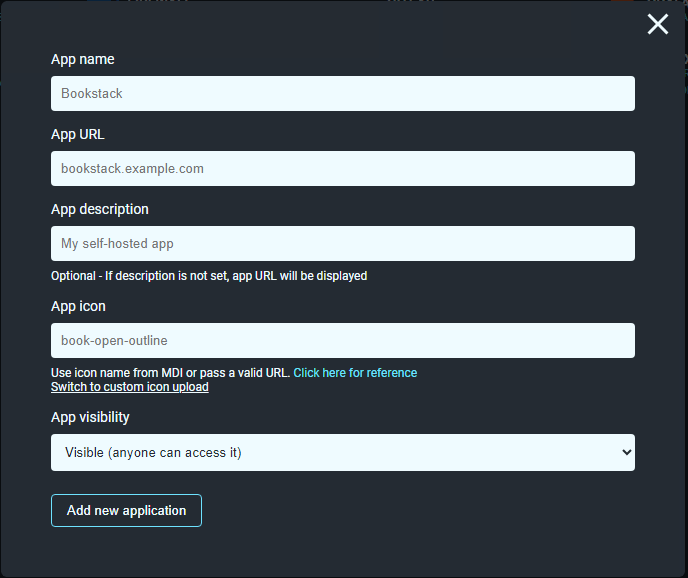
FIGURE 5 – Add application
NOTE: If you want to add icons that are high-resolution navigate to the following – https://github.com/walkxcode/dashboard-icons/blob/main/ICONS.md. This is a repository with icons for almost all projects or applications you can think of.
SECTION VII – Footnotes
- HomeLab is just an umbrella term for a system or environment that you can use to improve you knowledge and skills in installing, configuring and optimising IT. ↩︎
- Docker is a set of platform as a service products that uses OS-level virtualization to deliver software in packages called containers. ↩︎
- I am using Fedora Version 38 Server as my base OS. ↩︎

Leave a reply to How to Configure Nginx Reverse Proxy – Knowledge Addict Cancel reply