Time to read:
In this post, we are going to go over how to install the Portainer CE (Community Edition). For this installation, I am assuming that you already have Docker1 installed and it needs to be ready to go with an internet connection to connect to the Docker Hub and download the correct image.
- SECTION I – What is Portainer
- SECTION II – Portainer Installation
- SECTION III – Initial Configuration
- SECTION IV – Footnotes
SECTION I – What is Portainer
Portainer is a web GUI (Graphical User Interface) container management software that allows you to manage all of the containers across your virtualized environment. It is an impressively easy to use frontend for your containerized environment.
For more information about Portainer itself visit the website – Portainer: Container Management Software for Kubernetes and Docker.
IMAGE
SECTION II – Portainer Installation
I am going to take the time to note that for my installation of Portainer I used a Linux Fedora server image with Docker installed. If your set up is different to mine then consult the Portainer installation documentation – Set up a new Portainer CE Server installation – Portainer Documentation.
Enough talk lets crack on with the installation:
- Connect to your Docker servers CLI (Command Line Interface).
- Create a persistent volume for the Portainer container using the following command:
- Use the following command to download the latest Portainer CE container and then configure the container to run:
- Confirm that the container has started running using the following command:
docker volume create portainer_data
docker run -d -p 8000:8000 -p 9443:9443 –name portainer –restart=always -v /var/run/docker.sock:/var/run/docker.sock -v portainer_data:/data portainer/portainer-ce:latest
docker ps
NOTE: you should see the container name ‘portainer’ to list that the container is running.
NOTE: you will need to add a host firewall exception to allow you to be able to connect to the Portainer Web GUI. You will need to allow the port 9443 through the firewall unless you changed from the default port when you created your container.
SECTION III – Initial Configuration
To finish off our installation we need to carry out some initial configuration of Portainer from the web GUI:
- Open up a browser session and then navigate to ‘http://(Docker Sever IP or Hostname):9443
- You will be presented with a login screen where you need to set a default Admin password.
- Enter a default password and then click the ‘create user’ button.
- When presented with the ‘Quick Start’ screen click the ‘Get Started’ button to automatically add the local standalone Docker environment to the Portainer environment list.
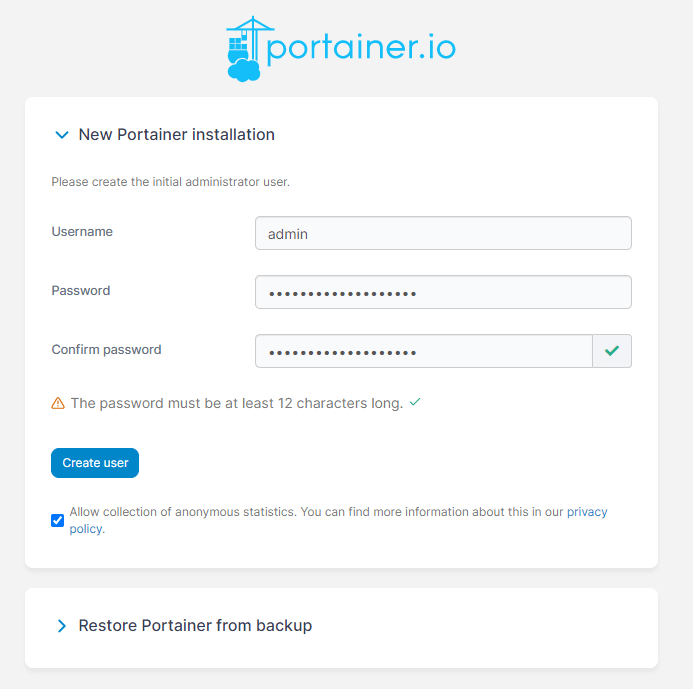
FIGURE 1 – Default Admin Account Creation
You should be presented with a page similar to the one in figure 2. It will list the local Docker environment that Portainer is running in and you should be able to see at least 1 container running which is the Portainer container itself.
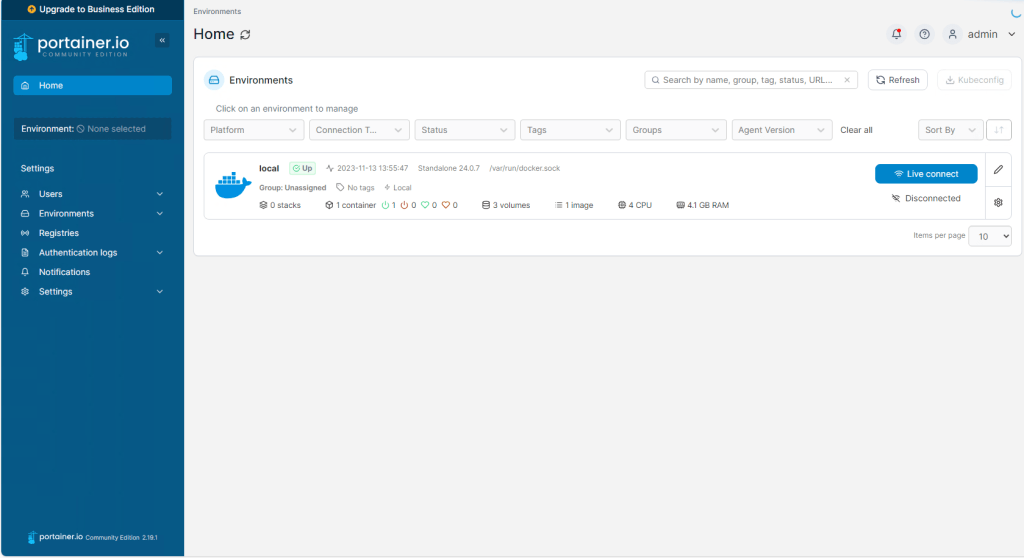
FIGURE 2 – Portainer Environments Page
SECTION IV – Footnotes
- Docker is an open platform for developing, shipping and running containers. Easy way to think about containers is they are similar to the concept of virtual machines just without having to run the whole operating system and just the required application/software. ↩︎

Leave a reply to How to Connect Portainer to Docker Standalone Using Agent – Knowledge Addict Cancel reply