In this blog post we are going to go over a solution to a problem I came across in my homelab after one of my Proxmox servers was having some hardware issues and kept crashing the host. The issue in question is a Windows Server based Virtual Machine (VM) within Proxmox booting into Recovery Mode that is unable to be repaired using the automatic tooling.
This solution does not involve rolling back to a previous VM backup or snapshot, instead it is actually fixing the boot partition of the drive directly.
Section I – Normal Startup Repair Options
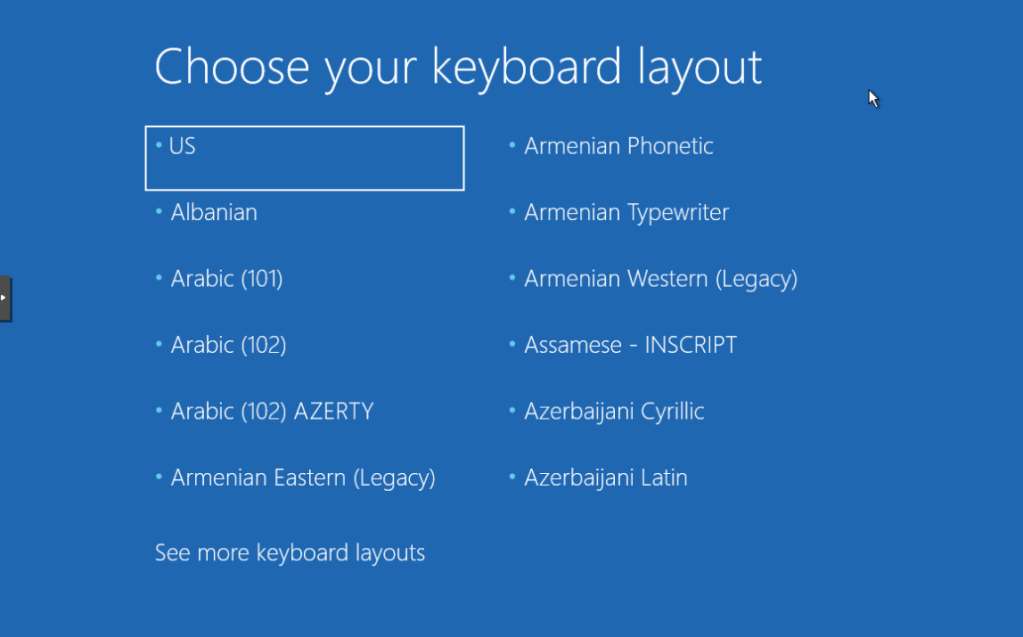
The natural first step when diagnosing/trying to fix a Windows Server that is in Recovery Mode is to select the appropriate keyboard layout and then select Troubleshoot -> Startup Repair:
You will see the server go through its diagnoses in the console screen:
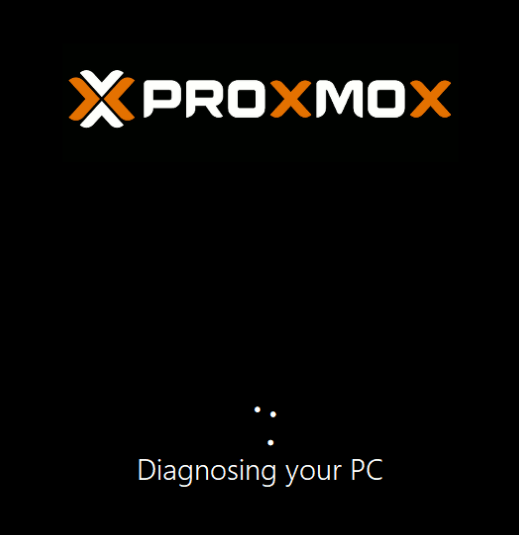
Unfortunately in my the issue isn’t able to be solved with Startup Repair.
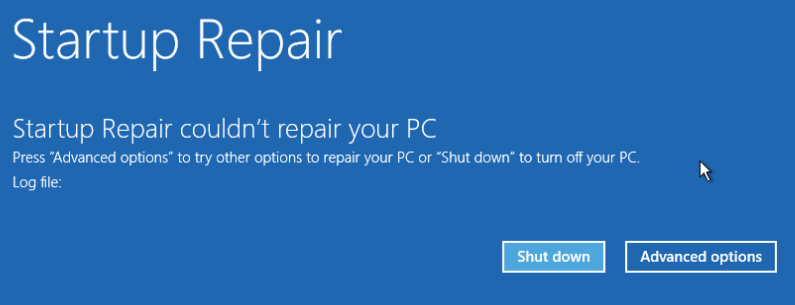
Startup Repair couldn’t repair your PC
Section II – Checking the Partitions and Windows Installations
To investigate further lets have a look at what the initial Operating System (OS) can see.
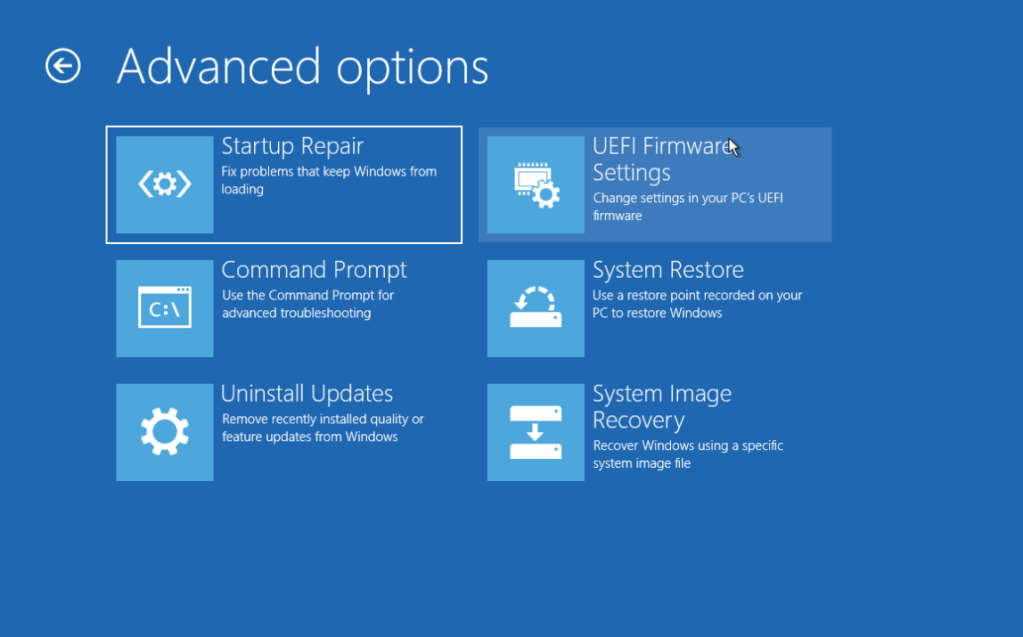
Go to Advanced Options -> Troubleshoot -> Command Prompt
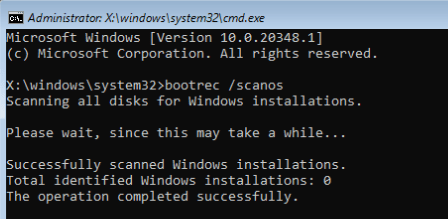
You can see if there are any Windows installations found:
bootrec /scanos
In my case this returned 0 installations found
Just to make sure, double check the VM hardware properties and make sure the correct VM disk is attached. In my case after double checking it already was attached.
Back in the VM Command Prompt use the following commands and you can view the volumes within the VM:
diskpart
list volume
In my case the only volume returned was a CD drive attached to the VM.

Section III – Install VirtIO Drivers
As started earlier I am running this VM on a Proxmox host, the VM is using a VirtIO disk so I want to make sure the drivers are loaded into the kernel to verify if the VM disk is actually corrupt of if the kernel just doesn’t know how to interact with the disk.
Download the latest drivers and upload them onto the Proxmox host in the ISO storage – https://github.com/virtio-win/virtio-win-pkg-scripts/blob/master/README.md
Attach the VirtIO Win Drivers ISO to the VM using the CD drive. You may need to stop and start the VM for the disk to be recognised if you add a new CD drive.

Back within Command Prompt enter the following commands to load the disk drivers, assuming the disk has mounted with the D drive letter:
drvload D:\amd64\2k22\viostor.inf
drvload D:\amd64\2k22\vioscsi.inf

Section IV – Assign Drive Letters And Build Boot Drive
Now the drivers are definitely loaded you can look to see the volume again:
diskpart
list volume
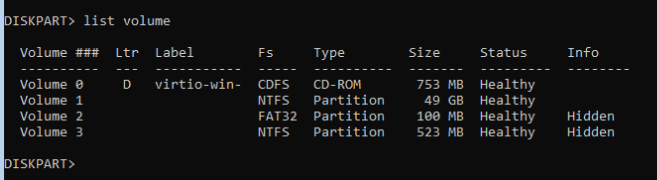
All the volumes are now visible which means we can assign the appropriate drive letters.
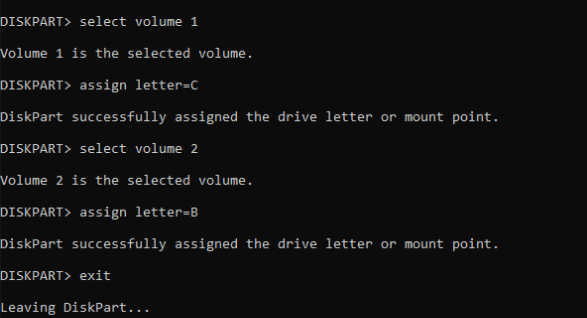
Select the big main storage volume (this will be the C drive) and then the FAT32 volume (this will be the B drive):
select volume 1
assign letter=C
select volume 2
assign letter=B
exit
Now the drive letters are assigned correctly we can copy the boot files into the correct location:
cd /d B:\EFI\Microsoft\Boot\
bcdboot C:\Windows /s B: /f UEFI


With this completed you can power down the VM and then power it back on and it should boot normally:

Leave a comment